

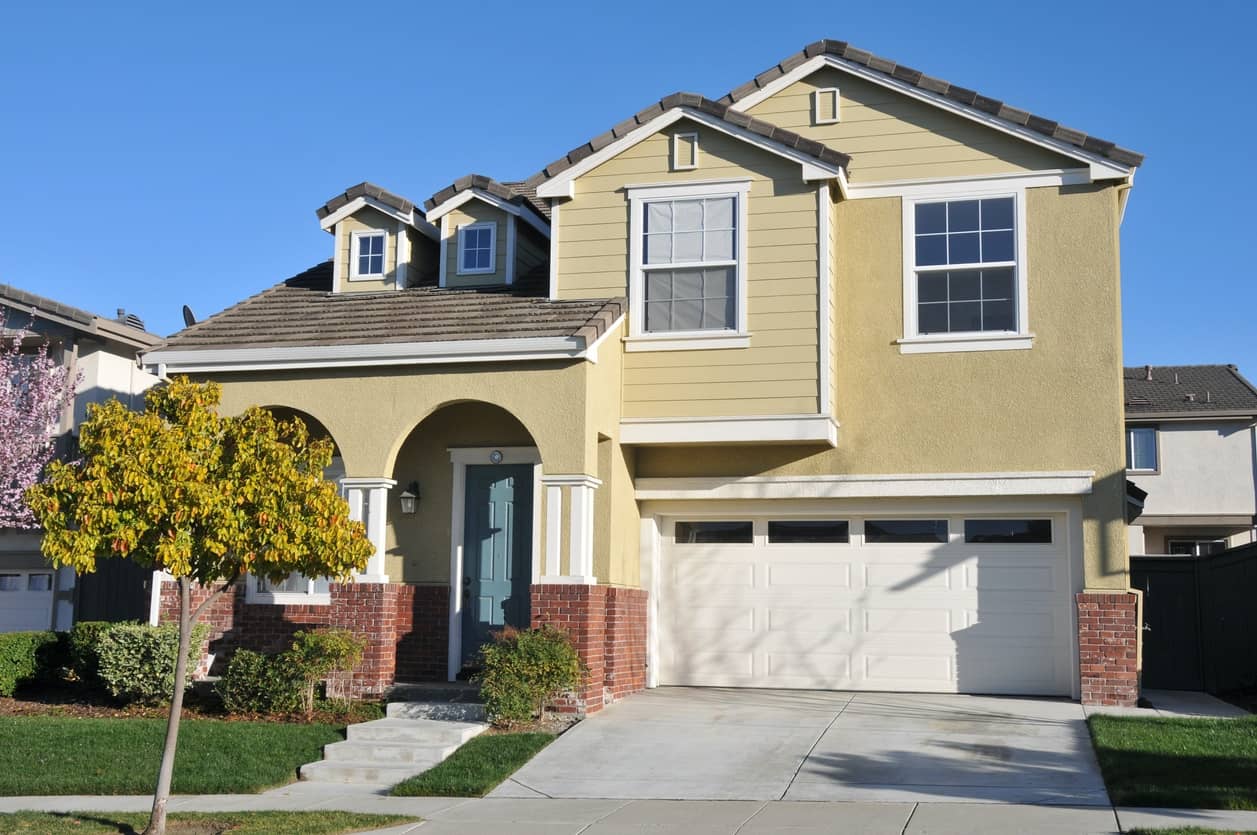
You walk around your Beverly Hills home in the afternoon and spot it. Paint curling along the fascia. A blister starting near the door frame. The 1×2 trim above the garage looks chalky compared to last spring. Florida sun and humidity do that on a timeline most homeowners never expect.
Most trim paint problems do not happen randomly. They follow predictable patterns tied to how moisture moves around your home, and almost every failure traces back to one of three causes you can identify before it spreads. Catch the warning signs early and a repair stays simple; ignore them and you are looking at rotted boards and water damage within a season.
This guide breaks down what causes exterior trim paint to fail in Citrus County, the warning signs that mean trouble is already structural, what not to do when you spot a problem, and how a professional repair actually works.
Key Takeaways
- Moisture intrusion at caulked joints and unsealed surfaces is the most common cause of trim paint failure.
- Florida’s daily heat-and-humidity swings stress paint film through expansion and contraction cycles.
- Poor surface prep during the prior paint job is the second-leading cause of premature peeling.
- Painting over peeling paint or onto damp wood guarantees a repeat failure within 12 months.
- Soft or rotted wood under failing paint means board replacement, not just another coat.
What Causes Exterior Trim Paint to Fail
Three problems do most of the damage to Beverly Hills trim, and they almost always work together rather than alone.
Moisture-Related Peeling
The most common trigger is water trapped behind paint. Paint applied to damp wood, or paint over poorly sealed joints, traps moisture that turns to vapor as walls warm under the Florida sun.
That pressure forms blisters, the blisters pop, and bare wood gets exposed. The cycle accelerates in Citrus County because daily temperature and humidity swings happen year-round.
Adhesion Failure From Poor Preparation
The second cause is almost always prep-related. When trim surfaces are not properly cleaned, sanded, or primed, the new paint never bonds correctly to the substrate underneath.
Lower-quality paint with weak adhesion, paint thinned too much, and paint applied directly to bare wood without primer all produce the same result: peeling within 12 to 24 months.
Chalking and UV Breakdown
The third cause is gradual. Run your hand along the trim and check for powdery residue. That chalk is pigment and binder breaking down from UV exposure.
Chalking reduces adhesion for any new coating and shows up first on sun-baked elevations. Most homeowners do not notice until the problem is well advanced and the next paint coat is already failing.
How Florida’s Climate Makes Trim Problems Worse
Florida sun does not just fade color. It heats surfaces and makes materials expand, and then evening humidity and cooler temperatures contract them again. That daily cycle is brutal on paint.
The Daily Cycle
According to NOAA Florida Gulf Coast climate data, central Florida sees humidity above 70% for much of the year with summer highs that regularly exceed 90°F. That combination forces wood and stucco trim to expand by day and contract by night, every single day.
Paint stretches with that movement, then cracks to relieve the stress. Apply paint over chalky surface, dusty wood, or an unprimed patch and the cracks show up faster.
Why Moisture Damage Spreads Fast
Moisture damage is a serious concern for homes in humid climates like Citrus County. When exterior trim paint begins to fail, it allows water to seep into wood trim, siding, and underlying building materials.
Over time, this moisture intrusion leads to structural damage that extends well beyond what a repaint can fix. For finish selection that handles Florida humidity better, see our guide on oil vs latex exterior paint.
Warning Signs to Watch For
Most exterior trim paint problems give visual warnings before they go structural. Walking the perimeter once a year is the cheapest insurance you can buy.
Early Visual Clues
Look for peeling and flaking edges, especially on lower siding and trim. Watch for blistering or bubbles that rise and pop after rain or hot afternoons, and hairline cracking or alligator-pattern texture across boards.
The highest-risk spots are where horizontal boards meet trim, near window sills, and bottom rows close to sprinklers. When edges curl, water wicks behind the coating and the damage spreads.
The Touch Test
Run your hand along the siding and trim. A powdery residue on your palm is chalking, and chalking is a strong indicator that your exterior trim paint is aging and no longer bonding correctly.
Chalking is also why a repaint job applied without proper prep fails so quickly. The new paint is bonding to old powder, not to a solid surface.
Problem Areas First
Inspect around windows, doors, and trim for gaps or deteriorated caulking. These transition points collect water and show problems before the flat surfaces do.
Sealing those joints with high-quality caulk prevents water from entering and helps maintain paint bond. Catch a failing caulk line early and a recaulk is a small job; catch it late and the wood underneath is already rotted.
What Not to Do When You See Problems
Three mistakes turn a manageable trim repair into a much bigger job. All three are common, all three are avoidable.
Do Not Paint Over Existing Issues
Remove any problematic paint before adding new paint on top. Painting over cracked or peeling paint results in unwanted texture and the original cracking will return through the new coat within months.
Covering up problems only delays the inevitable, and the rework cost is always higher than fixing it right the first time.
Do Not Skip Surface Preparation
A properly painted surface is uniform in appearance, color, texture, and sheen. It is free of foreign material, lumps, runs, sags, holidays, and misses. That level of quality requires real preparation work, not shortcuts.
For the role primer plays in proper prep, see our guide on why paint primer matters.
Do Not Rush the Timeline
Shaded areas, stucco, and trim near landscaping hold moisture longer than the rest of the home. When in doubt, wait.
Painting too soon, on a surface that still holds moisture, is one of the easiest ways to create peeling later. The week of extra drying time is cheap insurance against a year of premature failure.
The Right Way to Fix Trim Paint Problems
A professional repair follows a specific sequence. The approach depends on what caused the failure in the first place.
Surface Assessment and Cleaning
The job starts with scraping off loose, peeling paint and sanding the area to smooth the edge between intact and removed paint. Sanding also creates the surface texture the primer needs to bond.
After scraping and sanding, a high-quality exterior primer seals the bare wood and creates an even better bonding surface for the topcoat than raw wood alone.
Moisture Control First
Moisture control is the foundation of a lasting repair. Pairing the repaint with targeted sealing stops future failures at the source.
If your home shows repeated algae streaks, exposed end grain, or damp trim, the project plan needs to address the water source before the new paint goes on. Otherwise the same failure pattern returns within a year.
The Right Materials
A quality exterior primer followed by a high-grade exterior acrylic latex topcoat is the standard system for Florida trim. The combination resists peeling, cracking, and the daily expansion-contraction stress that breaks down lesser products.
For the broader cost picture across an exterior repaint, see our breakdown of what affects exterior painting cost.
Prevention Plan That Actually Works
A real prevention plan is a calendar, not a hope. Most exterior trim paint problems are stopped by 30 minutes of seasonal attention.
Seasonal Maintenance Schedule
- January to March: Inspect caulking after cooler months. Touch up small cracks before spring storms.
- April to June: Power-wash walls and check gutters before storm season ramps up.
- July to September: After heavy rains, check for blistering, peeling, or mildew, especially on shaded sides.
- October to December: Trim back vegetation that touches the home and plan any repainting for lower-humidity windows.
Environmental Controls
Bushes, vines, or tree branches touching the trim trap moisture against the surface and promote mildew. Keep landscaping trimmed back at least 12 inches from siding and trim.
For finish strategy across the rest of the exterior, see our guide on painting vs staining exterior house.
Timing the Work
Spring and late fall offer the steadiest conditions for prep and curing on Florida’s Gulf Coast. Mid-summer humidity slows cure time and increases the risk of blistering before the film hardens.
For longer-term project planning, our guide on sustainable painting practices for homes covers the choices that extend paint life by years.
What Happens If You Wait
Small exterior trim paint problems get bigger when ignored. The Florida climate accelerates every step of the failure cycle.
The Damage Progression
Once paint peels, the bare wood is exposed to water. Water that gets into the wood causes graying first, then rot, and finally board failure that requires replacement.
What starts as curling edges or small blisters can spread into wood rot, water infiltration into the wall cavity, and major curb appeal problems within 18 months.
The Cost Curve
A simple touch-up while the wood is still sound costs a few hundred dollars. A trim board replacement plus repaint costs four to six times that. Water-damage repair behind compromised trim costs many multiples of either.
The math always favors fixing trim paint failures early, before the problem moves from surface to structural.
Your trim is the first thing visitors see when they pull up to your Beverly Hills home, and Florida’s climate punishes shortcuts on every step from prep to final coat. Whether you want an honest assessment of how far the failure has progressed, advice on the right materials for Citrus County humidity, or a full professional repair that holds for the next 5 to 7 years, our team at Premium Painting will walk you through exactly what your home needs. Call 352-660-7820 for a FREE estimate today.
Focus keyword: exterior trim paint