If you’ve ever walked through your living room or down the hallway and noticed chipped paint on the wall, you know how distracting it can be. It’s not just an eyesore—it can also be a sign of bigger problems underneath. Homeowners often wonder how to repair chipped paint on their walls, trim, or even ceilings, and when to call in professional painters to make sure the repair lasts.
Chipped paint isn’t only about looks. It can indicate water damage, leaks, poor surface preparation, or even old lead paint in homes in Ocala built before 1978. With the right tools, materials, and process, chipped and peeling paint doesn’t have to keep spreading.
Let’s break down what causes chipped paint and how it’s fixed to save you time and money in the long run.
Key Takeaways:
- Chipped paint often points to bigger issues like leaks, poor prep, or old lead paint, not just surface wear.
- Repairs follow a proven process: scraping, filling with spackling paste or wood putty, sanding, priming, and repainting.
- Using the right materials such as latex, oil, or enamel paint ensures repairs match the surface and last longer.
- Professional painters in Ocala, FL provide safe handling of hazards like dust or lead and prevent repeat peeling.
- Addressing chipped paint quickly keeps moisture, rust, and structural damage from spreading inside your home.
Why Does Paint Chip in the First Place?
There’s never just one reason. Sometimes chipped paint happens because the original painter didn’t use primer or skipped sanding. Other times it’s due to environmental stress like heat, humidity, or even a leak inside the walls.
Some common culprits:
- Moisture damage – Bathrooms, kitchens, and window areas often peel first because of water or condensation.
- Poor surface prep – Skipping cleaning, sanding, or joint compound repairs leaves the paint with nothing to stick to.
- Wrong materials – Using an oil-based paintbrush over latex or mismatched enamel paint can cause lifting.
- Age – Over time, old layers naturally lose adhesion, especially when there are multiple coats of primer and paint stacked on top.
If you see chips forming, especially near the floor, window trim, or ceiling, the safest move is to address it right away before dust, rust, or water seep in and make repairs more complicated.
Safety First: Could It Be Lead Paint?
In older homes, chipped paint might not just be a cosmetic issue. If your home was built before 1978, it could contain lead paint. Lead dust is harmful when disturbed during sanding or scraping. This is where professional painters are not just helpful—they’re necessary.
Certified teams can safely handle testing and removal, preventing dangerous exposure while still repairing the chipped surfaces. If you’re unsure, always treat suspicious paint as though it contains lead until proven otherwise.
How to Repair Chipped Paint?
Step 1: Removing Loose Paint
The first part of repairing chipped paint is getting rid of what’s already failing. Professionals often use tools like a scraper, razor, or even a wire brush to peel away anything loose. Leaving weak edges in place means the problem will come back quickly.
For delicate surfaces like drywall, careful scraping and smoothing keep the wall intact. On wood trim, a painter might also sand lightly with sandpaper or polish with a wire brush to remove roughness before patching.
Step 2: Filling and Patching the Damage
Once the loose paint is gone, the repair is about filling the chip so it blends seamlessly. Professional painters typically use:
- Spackling paste for small wall repairs
- Wood putty for trim or windowsills
- Joint compound for larger drywall patches
Using a putty knife, the filler is spread smoothly so it sits just slightly above the surface. That way, after sanding, it levels perfectly with the wall. This step is where quality really matters. Rushing it leaves visible dips, even after repainting.
Step 3: Sanding and Prepping
After drying, sanding is next. Fine-grit sandpaper or specialized sanding tools smooth down the patched area. Dust is carefully cleaned away because leftover particles prevent the adhesive and primer from bonding.
Professional painters often use protective plastic sheeting, masking tape, and even HEPA vacuums to control dust. This step matters most in rooms like the kitchen or bathroom, where air quality and cleanliness are important.
Step 4: Priming the Surface
Before new paint can be applied, primer seals the repair. Skipping this step is one of the common painting mistakes homeowners make.
Primer not only helps the new coat stick but also prevents uneven absorption between patched and existing surfaces. Depending on the situation, a professional might apply multiple coats of primer for a perfectly even base.
Step 5: Repainting and Finishing
Finally, the surface is ready for fresh paint. Using a high-quality brush, roller, or even spray paint for tricky areas, professionals match the wall or trim so the repair disappears completely.
Different surfaces call for different products. Bathrooms and kitchens may need waterproofing or latex paints designed to handle moisture. Wood trim might get an oil or enamel paint finish for durability. Floors and high-traffic spots sometimes require additional protective coatings to withstand wear.
When done right, no one will ever know the paint chipped in the first place.
When Chipped Paint Means a Bigger Problem
Sometimes chipped paint is just the surface issue. If you notice paint peeling near a window, behind a toilet, or close to a leak, the real cause might be water infiltration. Professionals in Ocala often find hidden drywall damage or rotting wood once the paint is removed.
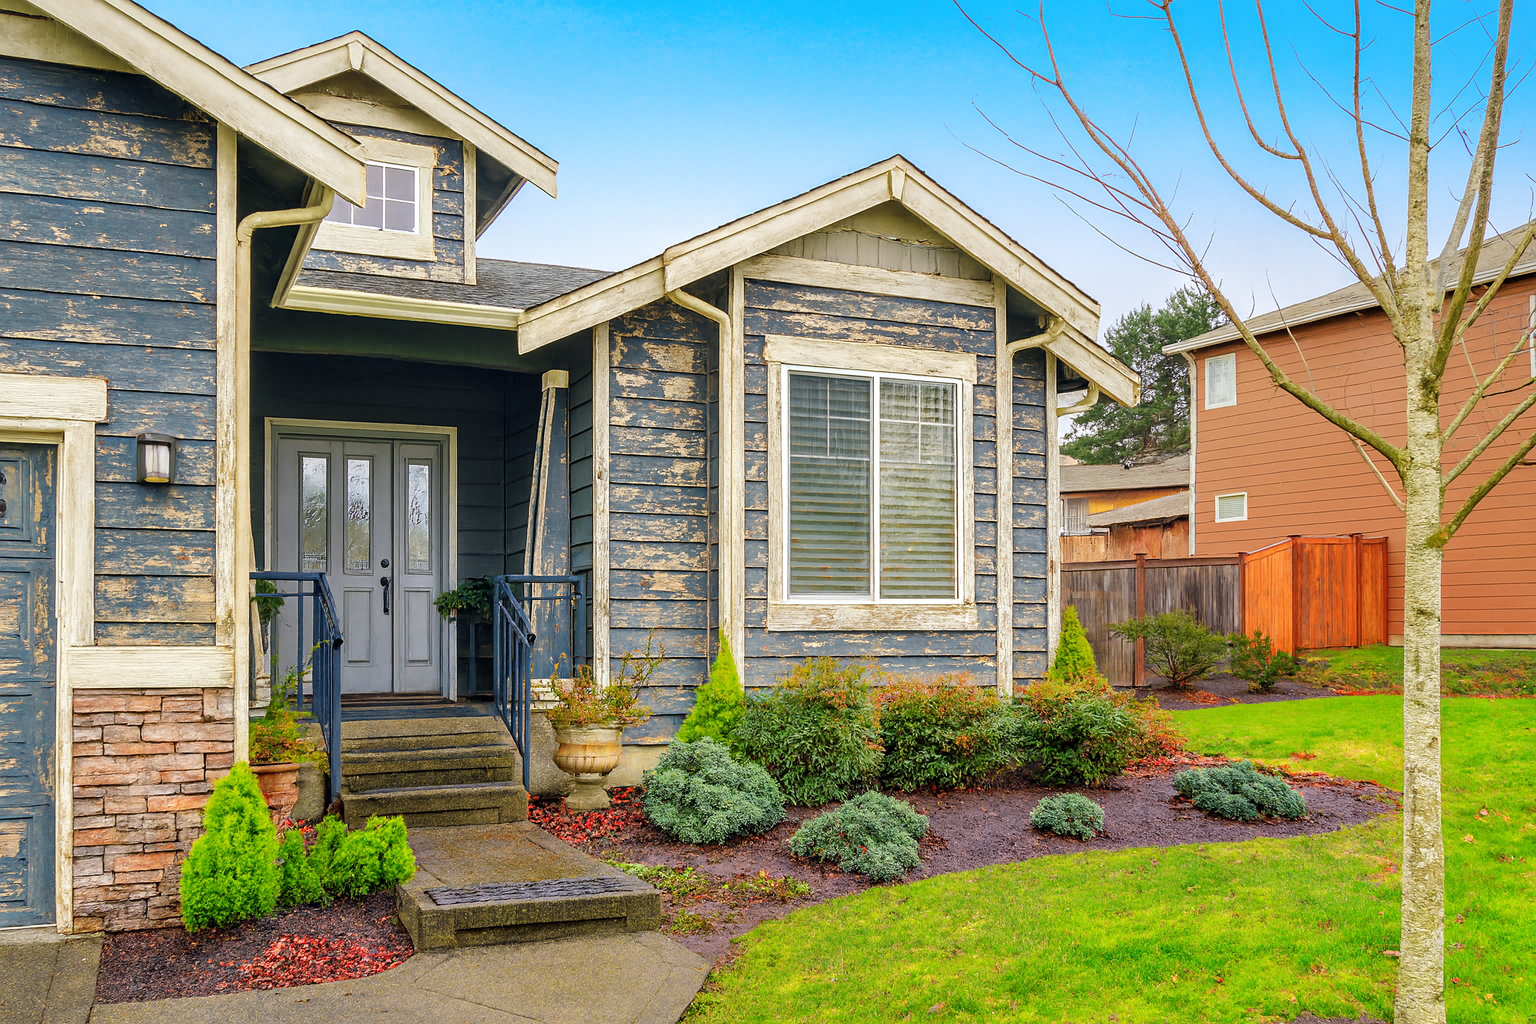
In other cases, chipped paint on doors, trim, or siding can expose wood to air and moisture, which leads to swelling, cracking, and even structural issues. That’s why addressing chipped paint quickly is not just cosmetic—it protects your home.
Small Fix or Full Repaint?
Sometimes fixing chipped paint is just the start. If the same areas keep peeling or the paint is faded across large sections, it may be time for a complete repaint. Exterior walls, in particular, show warning signs when it’s time to start over. Knowing the signs to repaint your house exterior helps determine if repair alone is enough.
If you’re unsure, professional painters in Ocala, FL can evaluate your walls, trim, and siding to see if touch-ups will work or if a fresh coat across the whole surface is the smarter investment.
Protect Your Home With the Right Repair
Chipped and peeling paint doesn’t have to keep bothering you. Knowing how to repair chipped paint means understanding the full process—scraping, filling, sanding, priming, and painting. But more importantly, it means recognizing when the damage points to a bigger issue like moisture, leaks, or improper past work.
At Premium Painting, our team of professional painters in Ocala, FL takes care of every step. We prevent dust, handle materials properly, and make repairs that blend seamlessly into your home’s design. From small chips in the bathroom to large peeling sections on the exterior, we restore surfaces so they look new and last.
Here’s what working with us looks like:
- Careful inspection of walls, ceilings, and trim to find the cause of chipped paint
- Full preparation with cleaning, sanding, and safe dust control
- Repairs using the right filler, from spackling paste to wood putty
- Primer application for strong adhesion and even coverage
- Professional painting matched to your home’s interior design or exterior finish
Ready for lasting results?
Don’t let chipped or peeling paint keep damaging your home. Call 352-660-7820 today to schedule a FREE estimate. We proudly serve Ocala, Lecanto, Belleview, Silver Springs, FL and the surrounding areas.


