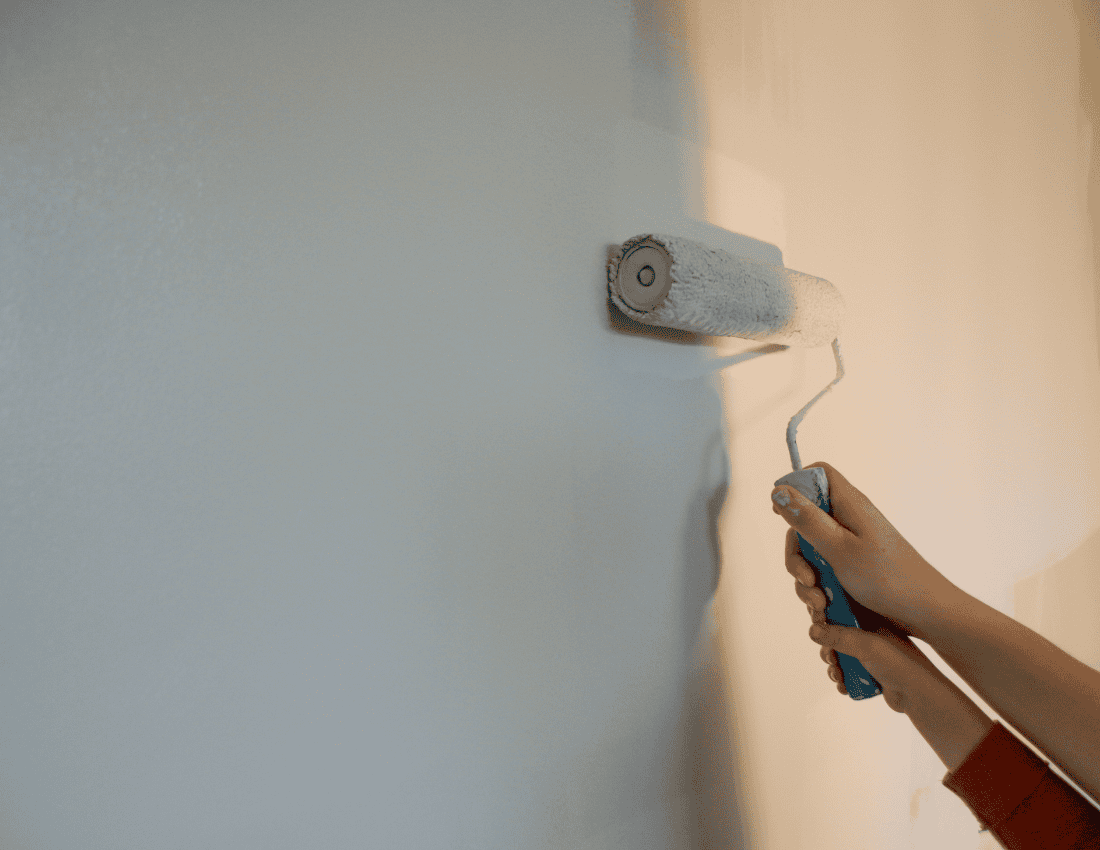
So, you’re standing in the middle of the room, staring at a bare wall or patched-up drywall, asking yourself: how many coats of primer do I need?
It’s one of those questions that seems simple until you’re elbow-deep in a home improvement project. The truth is, there’s no magic number. In Summerfield, FL where homes deal with heat, humidity, and the occasional mildew spot—it depends on what you’re working with.
Painting over drywall? That’s different than dealing with old wood trim.
Tackling a bathroom ceiling? That’s a whole other story.
Some surfaces suck up primer like a sponge. Others just need a touch-up and go. And if you’re switching from oil paint to latex, you’ll definitely want to pay attention.
In this guide, we’re breaking it down. You’ll learn when one coat works fine, when two are smarter, and why three coats might be the better bet in high-moisture spaces or on damaged walls.
If you want paint that actually sticks, looks great, and lasts, let’s talk about what really affects the number of primer coats your house painting project needs.
Key Takeaways:
- How many coats of primer do I need? New drywall and raw wood often need 2 coats to prevent uneven paint coverage and poor adhesion.
- Use 3 coats on stained ceilings, masonry, or high-humidity areas for better sealing and stain resistance.
- Switching from dark to light colors? Expect at least 2 primer coats to avoid bleed-through or patchy spots.
- Always sand between coats to improve adhesion, especially on wood trim, furniture, and repaired drywall.
- Professional painters in Summerfield, FL recommend moisture-resistant primer for bathrooms and ceilings in humid spaces.
Surface Type Makes All the Difference
Different surfaces act differently under primer. If you’ve ever rolled primer onto raw wood or fresh drywall, you’ve probably noticed it soaks right in. That’s porosity at work. Highly porous surfaces like concrete, plaster, or wood with visible grain often need more than one coat just to stop the surface from drinking it up.
Here’s a quick look at how some common surfaces in Summerfield homes tend to behave:
- Drywall: New drywall and areas patched with joint compound are incredibly porous. The first coat disappears quickly, leaving uneven color and texture. Two coats are typically needed for even adhesion.
- Wood: Raw wood and stained trim are notorious for needing extra prep. Between knots, grains, and tannins, you’re usually looking at two to three coats, especially if you want a solid base for paint to grip.
- Masonry and plaster: Whether it’s old stucco or rough concrete, these materials are thirsty. Most of the time, two coats are a must, and in areas with mold, mildew, or stains, a third coat using a stain-blocking or mildew-resistant primer may be the smarter option.
- Metal: If you’re painting anything metal like handrails or vents, choose a rust-inhibiting primer and expect at least one solid coat—two if there’s any rust or prior damage.
Each of these surfaces reacts differently not only to primer but also to the paint you’re planning to use afterward. Oil-based primers may work better on stained wood, while latex primers are often a better fit for drywall.
Humidity, Heat, and the Trouble with Bathrooms
Summerfield, FL weather isn’t exactly kind to painted surfaces. Heat, humidity, and poor ventilation in certain rooms like bathrooms, laundry areas, or basements—slow down dry time and can weaken adhesion if you’re not patient between coats.
Moisture can cause mold, bubbling, or even peeling paint if primer doesn’t have time to properly bond. That’s why in high-humidity rooms or areas prone to mildew, we often recommend three coats of primer—one to seal, one to bond, and a third to even out any blotchiness from water damage or stains.
Ceilings also tend to need extra love, especially older homes with popcorn texture or signs of water leaks. In these cases, using a mildew-blocking or moisture-resistant primer and applying at least two coats (sometimes three) makes a big difference.
If you’re unsure whether to brush or spray, here’s a post you might find useful: Roller Painting vs Spray Painting.
Color Change? Plan on More Than One Coat
Switching from a dark green to a soft white? Or from deep blue to a light beige? Large color shifts often mean more primer.
The first coat might dull the color slightly, but you’ll still see traces peeking through. A second or third coat helps you get a clean, even surface for your paint.
Even if your wall is already white or off-white, stains or uneven patches can bleed through and change the final look. Stain-blocking primer can help, but don’t expect miracles in one coat, especially if you’re working over oil paint, smoke stains, or lead-based surfaces.
If your current paint is oil-based and you plan to switch to latex, a primer coat is non-negotiable. Skipping it can cause peeling, chipping, or complete failure of the topcoat.
Don’t Skip the Prep Work
You can use the best primer in the world, but if the surface isn’t prepped properly, you’re just wasting time and money. Sanding is one of the most important steps in getting good adhesion. Use sandpaper to lightly scuff glossy surfaces or smooth out patched areas so your primer can grab on.
Cleaning the area is also key. Dust, plaster, mold, and loose particles all affect how well your primer sticks. Don’t forget to wipe off excess dust after sanding, especially on wood, furniture, and drywall seams filled with joint compound.
When working on trim or older woodworking, give yourself time to prep. It’s not just about getting a clean finish—it helps avoid brush marks, uneven absorption, or blotchy stain patterns.
Speaking of design tricks, did you know your choice of color and finish can influence how big or small a space feels? Here’s a tip you might like: How to Make a Room Look Bigger with Paint.
The Rule of Thumb for Primer Coats
Still asking yourself how many coats of primer do I need? Here’s a simple rule of thumb to work with:
- New drywall or raw wood: 2 coats minimum
- Heavy stains, high humidity areas, or dramatic color changes: 3 coats
- Minor repairs or repainting similar colors: 1 coat (plus spot-priming as needed)
Even on previously painted surfaces, one coat might not be enough if the previous finish is glossy, stained, or showing signs of wear. A test patch can help you decide.
Let’s say you’re painting a guest room wall. No stains, no repairs, just switching from cream to light gray. In that case, one coat is probably fine. But that same room, after patching holes, dealing with mildew, or trying to hide a bold red? You’ll be in two to three coat territory.
And if you’re repainting interiors, here’s a helpful breakdown of what to expect: How often you should repaint interior walls.
Final Thoughts: So, How Many Coats of Primer Do I Need in Summerfield, FL?
If you’re tackling walls that are clean and smooth with a similar color underneath, one coat of primer may be enough. But in most homes around Summerfield, FL, it’s smarter to plan on two. And when you’re dealing with humidity, patched drywall, raw wood, or tricky bathroom ceilings? Three coats are worth it.
Skipping primer or cutting corners might save time now—but not when your new paint starts flaking off in a few weeks. With the right prep, good ventilation, and smart surface-specific choices, your finish coat will last longer and look sharper.
Here’s how Premium Painting can help make the process simple, stress-free, and professional:
- Free color consultations to match your space and surface needs
- Full prep including sanding, patching, and stain-blocking as needed
- Use of premium primers tailored for wood, drywall, masonry, and humid areas
- Professional painters in Summerfield, FL who know how to work around local heat and humidity
- Respectful, on-time service that keeps your space clean and on schedule
Serving Summerfield, Crystal River, Citrus Springs, Lecanto, FL, and the surrounding areas. Call us at 352-660-7820 for your FREE estimate today!


